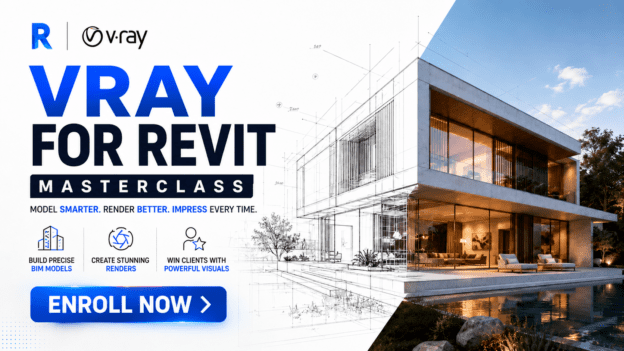
3D Visualization with V-Ray for Revit Masterclass

About Course
What if you could turn your Revit models into stunning, photorealistic visuals… without exporting your files or learning complicated new software?
With V-Ray for Revit, high-end architectural rendering becomes part of your normal Autodesk Revit workflow. You can create beautiful images, animations, and real-time visualizations directly inside the environment you already use.
But here’s the truth…
Most designers who install V-Ray barely unlock its real power.
They struggle with lighting.
They guess with materials.
They spend hours trying to get results that still look flat or unrealistic.
That’s exactly why this 3D Visualization with V-Ray for Revit Masterclass was created.
Imagine this:
You transform your Revit model into a photorealistic image that looks like a real photograph.
Your clients don’t just look at drawings…
They experience your design before construction even begins.
You present interiors with realistic lighting, reflections, and materials that make the space feel alive.
And suddenly, your presentations become far more powerful — because when clients see the vision clearly, approvals come faster.
Sounds powerful, right?
That’s because it is.
But here’s the problem…
Most tutorials only show you buttons and menus. They don’t show you how professionals actually use V-Ray to produce high-quality architectural visuals that impress clients and win projects.
You’re often left confused, overwhelmed, and wasting hours experimenting.
That’s why this course walks you step by step, showing you exactly how to use V-Ray inside Revit to create visuals that look like they came from a professional visualization studio.
So you can:
Create photorealistic renderings directly inside Revit
Learn how to apply advanced lighting, materials, and textures to make your designs look real.
Produce beautiful interior and exterior visualizations
Turn simple models into high-impact images that elevate your presentations.
Render faster without exporting your model
Work inside your existing Revit workflow while achieving high-end visualization results.
Impress clients and strengthen your portfolio
Show your designs in a way that communicates your vision clearly and professionally.
Here’s what you get when you enroll today:
• Step-by-step video lessons showing you exactly how to use V-Ray for Revit
• Practical demonstrations so you can follow along and build real skills
• Professional rendering techniques used to create photorealistic architectural visuals
• Time-saving workflows that help you work faster and smarter
By the end of this course, you won’t just know how V-Ray works.
You’ll know how to use it confidently to turn your Revit models into visuals that truly sell your ideas.
The question is simple:
Are you ready to stop showing ordinary Revit views…
and start presenting stunning photorealistic visualizations that capture your clients’ imagination?
Enroll in the 3D Visualization with V-Ray for Revit Masterclass today and start transforming your designs into visuals that speak for themselves.
Claim your spot now and bring your Revit designs to life.
Course Content
WEEK 1 — V-Ray Foundations & Interface Mastery
- 06:27
- 08:40
- 11:48
Assignment 1
WEEK 2 — Environmental Lighting & Scene Foundation
WEEK 3 — Material Editing & Realism Control
WEEK 4 — Artificial Lighting & Vegetation
WEEK 5 — Final Rendering Workflow
WEEK 6 — Interior Rendering Mastery
Earn a certificate
Add this certificate to your resume to demonstrate your skills & increase your chances of getting noticed.